Sunday, April 5, 2009

Tru-Spec Combat Shirt


Features:
The Tru-Spec Combat Shirt features 50/50 Nyco rip-stop sleeves with a soft 60/40 cotton/nylon body. The body of the shirt is lightweight, moisture wicking and pretty thin to maximize breathability. The 50/50 nyco material extends into the shoulders and across the upper back to increase durability and to eliminate the need for any seems in critical areas that could cause chaffing. This shirt has anti-abrasion elbow patches and zipper sleeve pockets. Gusseted sleeves increase the combat shirts range of motion as well as its comfort in various positions.

Cost:
$64.99 (www.airsoftatlanta.com)

Positives:
I found this shirt to be very comfortable and soft throughout the entire inside. The higher collar helps protect your neck from chaffing due to rubbing caused by a sling or vest. I like the fact that the arms, shoulders and back are 50/50 nyco rip-stop rather than tru-spec's usual 65/35 material that they do most of their other multicam items in.

Negatives:
I found the sleeve pockets to be somewhat of an annoyance since they zip from the top which makes them more of a hassle to deal with, if the zip closures would have been located on the front of the pockets it would have been better. The anti-abrasion elbow patches seemed to be oddly positioned as well because too much bending of the elbow reveals that your elbow tends to fall outside the patched area. Additionally the velcro loop areas on the right sleeve are broken up into 3 sections for different items and I would find it more useful if this had just been one solid sheet of loop material across the entire pocket.

Overall:
This shirt is very comfortable and a great fit, I was very satisfied with this purchase. I picked this one up from Parafrog in Knoxville, TN for around $65.
8 out of 10

Cyma AK-47 Refinishing

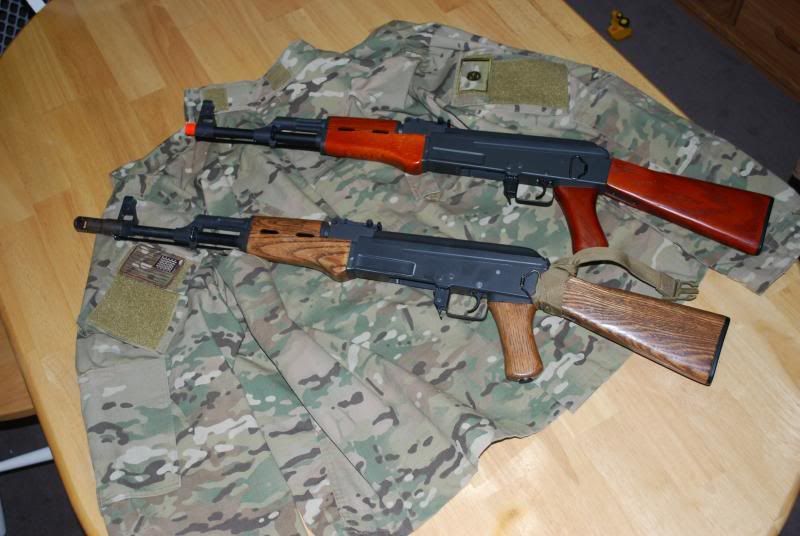
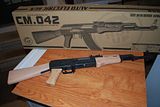
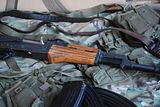
I got a my Cyma CM042 AK47 for Christmas. I love the gun and it shoots pretty good stock, but the color of the real wood was way too red for me. Being in multicam, my friends always commented that the way they found me in the woods was to look for the red on my gun.


So I decided to work on that.

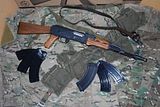
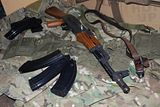
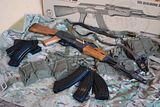
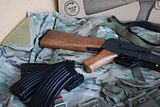
The finished job.


Comparison with another stock CM042


Here is how I did it.

I started by going to Lowes and digging through stain colors. I ended up getting "Dark Walnut" and a satin polyurethane. Even being satin I figured it would be a bit too reflective so I made sure I had some steel wool to dull the finish when I was done.

Click on the pictures to view them full size.


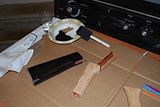
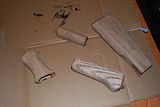
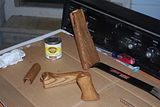
I used a fine sanding block to take the original finish off.


Here is the gun in pieces, half sanded.


It took quite a while to sand down everything, my arm was seriously hurting by the time it was done.


I stuck the gun back together to see what it looks like, reminds me of the Cyma tactical AK.


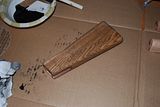
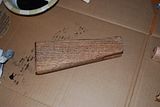
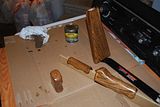
Next I used a screwdriver handle and some other instruments to beat up on the wood and enhance some existing scratches. Then I mixed black acrylic paint and water to make a wash. If you do this make sure to wipe it off quickly, it doesn't take long at all. It really brought out the nicks and cuts and the wood grain.


I sanded a bit more after it dried fully.


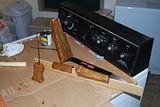
I applied a nice solid coat of Dark Walnut stain, making sure to fully cover the wood. I ended up touching some up after it dried a few hours to make sure I didn't miss spots too badly.


I had thought about just using linseed oil after the stain, but knowing the wood is not that great quality, I used two coats of polyurethane to protect it, sanding lightly between.

1st coat:


2nd coat:


Next I reassembled the gun. With the polyurethane it fit a little bit tighter in most places, which is nice. It gave the gun a more solid feel. I did learn just how bad the wood can be when I was reattaching the pistol grip. It had been slightly loose, but when I tightened it down the wood was crushed beneath the screw, leaving a hole completely through. For now I used a washer to hold it on, and it is actually tighter than before. I will have to countersink it slightly when I have some time and can get the right size bit.

I also used some steel wool to weather the metal in some places. It isn't too obvious, but I didn't like the super clean look the metal had before. It took the weathering well, and I don't think you can really tell unless you look closely.

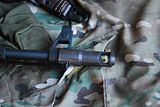
I had ordered a real steel flash hider from Cheaper Than Dirt for $10 with some other random stuff I needed and it happened to get in today, when the gun was ready to be re-assembled. I had to use a dremel to cut a notch out for the cleaning rod on the lower part of the front sight, and the thing is held on by tape right now, but it doesn't seem to move much, and should work until I figure out a more permanent mounting solution since the pins on the sight are fake on the airsoft gun.

Overall I am pretty happy with how it turned out. Here are some pics of the finished product. Don't forget to click them to see the full size pictures.


Tactical Tech

We started this site with a clear goal in mind. We wanted to present the airsoft community with clear, accurate and unbiased reviews of various gear and products so they could make well informed purchasing decisions that are right for them. We do not just review what some people call "cheap airsoft knock-off junk", we review gear from a variety of manufacturers. We just try to focus in on helping you find the most cost effective gear for your load-out.